Friday, August 2, 2013

Vanilla and Salted Caramel Whoopie Pies

Remember when I made Salted Caramel Frosting?  Of course you do, it was only a few days ago.  Well, somehow I managed not to eat every morsel of leftover frosting in my fridge and use it for another recipe.  I know you're proud of me.  I'm proud of me too.


I didn't want to make any more cake so I opted for whoopie pies (which are really just little cake sandwiches).  Everyone loves whoopie pies AND I've had this whoopie pie pan for months and haven't used it yet.  CA saw it and asked, "Is that new?"  I just said, "No, I've had it for a while."  ;)

Lucky for you, a whoopie pie pan is not required to make these.  In fact, the cakes didn't even spread out enough to touch the sides of the pan so feel free to just scoop them out and bake them on a cookie sheet.  You're welcome.

I opted for a pretty simple vanilla sandwich base so as not to compete with the salted caramel frosting.  It's so good you don't want to mix it with anything too crazy.


Truthfully the frosting was probably a little bit too soft to use in a whoopie pie.  I probably should have added some powdered sugar to it to stiffen it up because it shot right out the side of the whoopie pie when I bit in it.  That, of course, didn't stop me from scooping up the fugitive frosting and smearing it right back on my pie.

We don't waste frosting around here, it's the rules.


Renegade frosting aside, I'm very pleased with my choice.  These whoopie pies were super tasty and CA's coworkers gobbled them up right quick like.


Vanilla and Salted Caramel Whoopie Pies
Adapted from King Arthur Flour

Ingredients:
1 cup Sugar
2/3 cup (11 T) Butter, at room temperature
2 tsp Baking Powder
1 tsp Salt
1 T Vanilla Extract
1/4 tsp Almond Extract
2 Eggs
3 cups All Purpose Flour
2/3 cup Milk

2 cups Salted Caramel Frosting

Instructions:
Preheat the oven to 400°F.   Lightly grease two baking sheets or line them with parchment paper.

In the bowl of a stand mixer fitted with the paddle attachment, beat the sugar and butter together until creamy.  Add the baking powder, salt, vanilla and almond extract and beat until combined.  Add the eggs and beat until just combined.  Scrape down the sides of the bowl.  Add the flour and milk alternately, beginning with about 1 cup of the flour and 1/3 cup of the milk. Beat well after each addition. The final batter should be fairly thick and fluffy.

Scoop the batter onto the prepared baking sheets in heaping tablespoonfuls.  Leave about 2" between each scoop.

Bake the cakes for 7 to 8 minutes, or until they're springy to the touch and feel set. Remove them from the oven and allow them to cool completely before filling.

Spread the flat side of half the completely cooled cakes with a heaping tablespoon of the frosting.  Top with the remaining cakes, flat side towards the filling.

Enjoy!
Julie

Thursday, August 1, 2013

Eggplant Parmesan (and my new present!)

Is it weird that on my birthday I opened a box and saw the Le Creuset label on the box inside the box and about jumped up and squealed?

CA has it so easy.  All he has to do is buy me something for my kitchen and I'm happy.  Screw diamonds, I want cast iron.
Introducing my brand new Le Creuset Signature Deep Skillet in Flame.  Have I told you I'm obsessed with orange?

Obviously, I had to find something to make in my new skillet immediately and I had this eggplant lying around.  Truth be told neither CA or I like eggplant.  Sometimes we like it in restaurants but every time I make it it turns out gross and soggy and wet which is frustrating because I want to like eggplant.  I keep thinking that if I cook it just right we'll have an eggplant revelation like I did with mushrooms a couple of years ago (I used to hate mushrooms and made it my 2011 goal to like them.  I forced myself to order them in every restaurant we went to until I figured out that they're supposed to taste like dirt.)

Anyway, the one way I have made eggplant before that we liked was to make it into eggplant parmesan... because you could bread and fry a tire and it would taste good.
Eggplants are full of water and in some recipes it's important to get that water out of the eggplant so you don't get a big ole' soggy mess.  You do this by slicing them, covering them in salt and letting them sit for a while.  The salt draws the moisture out of the eggplant which yields a firmer veggie when all is said and done.

I came up with a pretty traditional breading for the eggplant but with a small twist... I not only used whole wheat bread crumbs but ground up saltine crackers in the breading. If you've read this blog for five minutes you'll know that I did this because the saltines were taking up space in my pantry.  I love getting rid of stuff in my pantry.

All practicality aside, I liked the combo of bread and cracker.  The saltines are nice and salty so you don't have to add much additional salt to the recipe to have a well seasoned round of eggplant.


For simplicity's sake, I topped these golden rounds with jarred tomato sauce (don't judge me, sometimes I have other things to do) and of course some cheese.  I went with a combo of mozzarella for the melty/creamy effect and parmesan for the sharp/salty effect. 


Overall this was a good, satisfying, vegetarian meal and still the only way I know how to make eggplant that CA and I don't hate.

Eggplant Parmesan
Serves 4

Ingredients:

1 Large Eggplant, cut into eight 1/2" slices
Salt

1/2 cup All Purpose Flour
1/4 tsp Salt
1/4 tsp Pepper
1/4 tsp Garlic Powder

2 Eggs, lightly beaten

2 Slices Whole Wheat Bread, toasted and ground (about 3/4 cup)
15 Saltine Crackers, ground (about 1/2 cup)
1/4 tsp Garlic Powder
1 tsp Oregano
1/4 tsp Pepper
1/4 tsp Red Pepper Flakes

1/4 cup Olive Oil

2 cups Tomato Sauce
1 cup shredded Mozzarella
1/4 cup shredded Parmesan

Instructions:
Lay the eggplant slices out on a paper towel and generously salt one side.  Flip the slices over and salt the other side.  Let them sit for 1/2 hour until you see water sitting on the surface of the slices.  Rinse and dry the slices.

Combine the flour, 1/4 tsp salt, 1/4 tsp pepper and 1/4 tsp garlic powder in a small bowl.

Lightly beat the eggs in another small bowl.

Combine the bread crumbs, saltine crumbs, 1/4 tsp garlic powder, oregano, 1/4 tsp pepper and red pepper flakes in a third small bowl.

Preheat the oven to 250 degrees.  Place a baking rack on top of a sheet pan.

Heat the oil in a cast iron skillet over medium high heat.  Dip the slices first in the flour mixture, followed by the eggs and then the bread crumb mixture making sure both sides are coated.  Lay the slice into the hot oil and cook until brown (about 3 minutes).  Flip over and cook the other side until brown (an additional 3 minutes).

Once both sides are cooked, place the eggplant slice on the baking rack and put the baking rack in the oven.  Repeat cooking process until all the slices are cooked.  Bake the slices for 20 minutes in the oven to ensure they are cooked through.

Lay a one slice of eggplant on each of four plates.  Top with 1/4 cup of tomato sauce and sprinkle with both cheeses.  Top with another eggplant slice and another 1/4 cup of tomato sauce.  Sprinkle the remaining cheese on top of each stack.

Enjoy!
Julie

Wednesday, July 31, 2013

Crock Pot Turkey Breast

I'm not going to tell you this is earth shattering or amazing or the best thing in the world.  I'm also not going to tell you that my crock pot saved my life and I use it every day in gratitude to it's convenience and ability to make things delicious without my help.  In fact, I probably use my crock pot four times a year... tops.  The fact that I have 3 crock pots in light of what I've just said is a mystery.


I am going to tell you this this is an easy way to cook a giant turkey breast and eat it for four days.
CA and I have both been pretty nutty at work lately so this turkey came in pretty darn handy.  On a Sunday night I put everything in the crock pot... sliced onions on the bottom of the pot, topped with the turkey breast, a bunch of sliced garlic, salt pepper and vegetable broth.  I stuck that in the fridge and on Monday morning all I had to do was plug it in and go to work. 

When I came home from work, my house smelled like Thanksgiving and we had a ton of turkey.

The first night we ate it lonely with some jus and veggies.  The next day I made turkey quesadillas out of it.  The next day CA made turkey curry.  The next day I made turkey salad.  The way this week went if we hadn't had this turkey we would have eaten cereal for dinner.  Every day.  I'm not kidding.


So, if you're looking for something to make your week a little bit easier, pop this puppy in a crock pot and eat it.  Every day.  It's guaranteed to save you from the cereal for dinner experience, at least for a few days.

You can find the recipe here - I left out the garlic powder and substituted vegetable stock for the chicken broth (just because that's what I had on hand).

Enjoy!
Julie

Tuesday, July 30, 2013

Baking Bouchon: Recipe 42 - Apricot Flan Tart

Apparently, I am easily misled.  Put something in a bin with a sign on it and I'll believe that whatever is in the bin matches what's on the sign.


I have no idea what an apricot looks like.  It seems that I think apricots look like nectarines.  I did think they looked pretty similar to the nectarines in the next bin that were labeled nectarines but I didn't think that meant that what I saw in the bin labeled apricots were nectarines.  That would be silly.  Who would mislabel fruit bins?

CA knows exactly what apricots look like - he looked at the nectarines, asked what they were for, and proceeded to tell me that apricots have fuzz on them... like peaches.

No wonder I didn't need 18 pieces of fruit.  I guess apricots are small.


Despite my fruit mix-up, this tart came out fine... yes, just fine.  Not amazing or fantastical or spectacular... just fine.

The tart starts with pate brisee (pie crust).  I was supposed to bake it in a cake ring... whatever the heck that is.  I looked at the photo and decided that baking it in a springform pan (like you use for cheesecake) would yield the right shape and height and I was right.  That small victory made me feel better about mixing up my fruits.

The crust gets baked and ready for all the filling.


The filling is basically pastry cream... Thomas calls it custard but I don't know difference.  I guess it's a little different but not enough for me to understand why I couldn't just make pastry cream...

I don't know what else to say about it, I feel like we talk about pastry cream every week here.

I guess the one difference here is that the custard gets baked again for a very long time so it firms up enough that you can slice the tart and is stays together.


To assemble this tart, you take your baked pie crust and layer in the apricots nectarines.  On top of that goes the custard (a lot of custard... this joker is tall).

All that goes in the oven forever... like 90 minutes.  I was really worried the crust would get fried from baking that long but it is totally covered by the cream so it was well insulated and didn't burn one bit.


The verdict?  Meh.  It was fine, but really just fine.

It definitely baked and sliced nicely which was good.  However, the custard was a little flavorless as were the nectarines.  Maybe apricots would have tasted better but that wouldn't have changed the custard.

Because this was called a flan tart, I expected it to have the soft caramel on top but there was no caramel.

CA didn't care for this too much either.  Let's just say that we didn't eat the leftovers and I took it to work and no one else ate it either.

It's too bad because now I have 14 nectarines and no yummy tart to put them in.  Maybe I'll make a crisp... I love a good crisp.

Julie


Monday, July 29, 2013

Salted Caramel Frosting

I've been teasing you for days about this frosting but I promise you it's worth the wait.  This is absolutely my favorite frosting I've ever made.  It's the kind of frosting where you want whatever the frosting is frosting to be neutral so as not to distract you from the deliciousness that is salted caramel frosting.  Today I spread these on some vanilla cupcakes and served them at a baby shower.  They flew off the platters like hot cakes.


Oh wait - didn't I tell you?  This is not just salted caramel frosting, it's salted caramel cream cheese frosting.   I know.

So, obviously to make salted caramel frosting you have to make caramel.  I have hit or miss success with making caramel.  Generally I miss and then make it again and hit.  It's a trend... that continued today.  More on that later.

This caramel is pretty standard... sugar and water get cooked until it turns a nice amber color.  Add butter, add cream, vanilla and salt.   The caramel sauce is super tasty and I know it would be amazing just by itself or on ice cream.  Definitely on ice cream.
The first time I attempted to make this caramel that thing over there happened.  The whole thing crystallized and practically turned into rock candy.  It was the weirdest thing.

The only thing I can think of is that I stirred it too much which pushed the  crystals from the side of the pot into the sugar and made that thing.

So just in case I'm right, don't stir it too much.  The 2nd time I made it I barely stirred it at all and that didn't happen.  Not that that proves anything.

Also make sure you have enough ingredients to make this again just in case that thing happens to you too.
The cooled caramel gets blended into butter, cream cheese and powdered sugar.  I know.  Just go make it now whether you have something to spread it on or not.  Put it on a cookie or a graham cracker or a spoon or your finger.  I'm not kidding this stuff is so good.

PS - I'm not alone, CA likes this stuff as much as I do. 


Salted Caramel Frosting
Adapted from Barefeet in the Kitchen
Yields 3 cups of frosting (enough for 24 cupcakes)

Ingredients:
1/2 cup Sugar
2 T Water
3/4 cup Butter, at room temperature (divided)
1/4 cup Heavy Cream
1/2 tsp Vanilla Extract
1/4 tsp Salt
8 oz. Cream Cheese, at room temperature
4 cups Powdered Sugar

Instructions:
In a heavy saucepan, combine the sugar and the water. Stir to combine and then cook over medium heat until the sugar dissolves; about 4-5 minutes. There is no need to stir, simply swirl the pan over the burner occasionally as the sugar dissolves.

Raise the heat to medium high and cook the sauce, swirling the pan occasionally, until it is amber colored; about 7-8 minutes. Add 1/4 cup of butter, be prepared for it to bubble and sputter, lightly stir with a wooden spatula, do not scrape the sides of the pan or splash sauce up the sides of the pan. (This will cause crystallization, if you scrape the uncooked sugars back into the sauce.)

Once the butter is melted, remove from the heat and add the vanilla, heavy cream and salt. It will bubble again, but will calm quickly. Stir to combine (again, not scraping sides of the pan) and then let it cool before transferring.

Beat the butter and cream cheese together at medium speed until smooth and creamy.  Add the powdered sugar and beat to combine.  A the caramel sauce and beat again to combine.

Friday, July 26, 2013

Lemon Cupcakes with Raspberry (and Blueberry) Filling

The poor lemon cupcake.  I feel bad for it.  It gets no love.


I served these along with the chocolate peanut butter cupcakes we talked about yesterday and some vanilla cupcakes with salted caramel frosting that we'll talk about on Monday and no one wanted to eat the lemon cupcakes.  It's too bad because these are pretty darn good.  I don't know why but the lemons were the last to go.  (Fine, I admit it, if I had to pick, I wouldn't have pick these either but only because very little can compete with salted caramel.  Everything is relative.)

These guys consist of a fluffy lemon cake, a berry filling and lemon buttercream frosting.

The cake itself is a pretty traditional white cake recipe using egg whites that are whipped and folded into the batter.  The batter gets a hefty dose of lemon flavor from the zest of two lemons.  I could have gone for more lemon flavor myself, but since these also get topped with lemon frosting some restraint may not be a bad idea.
I had the most difficulty with the berry filling which is a combination of berries, butter, egg yolks and sugar that is cooked up to thicken it and mixed with lemon juice.

Issue #1:  The recipe calls for raspberry filling and I was all set with my raspberries until I realized that one of those little containers of raspberries is NOT a pint.  It's a half a pint.  I sighed and thought about what to do.  I almost just made a half a batch of the filling until I remembered that I had blueberries and added some of those to the mix.

Issue #2:  I had to cook it freaking forever to get it to thicken up.  It was weird because it should have thickened up pretty fast due to all the egg yolks in it.

Issue #3: The butter.  My goodness the butter was so odd.  First of all the butter was put into the curd at the beginning of the cooking process which is different than other curds I've made where everything else is cooked and then the butter is whisked in at the end.  When I was straining mixture the butter separated and totally grossed me out.  Can you see it over there?  It's nasty.  I couldn't stand looking at it so I drained it off.  However, once I whisked in the lemon juice, it all came together and held up just fine.

In the end, I really wish I'd just used raspberry jam.  I think it would have had the same effect and saved me a bunch of time and trouble.


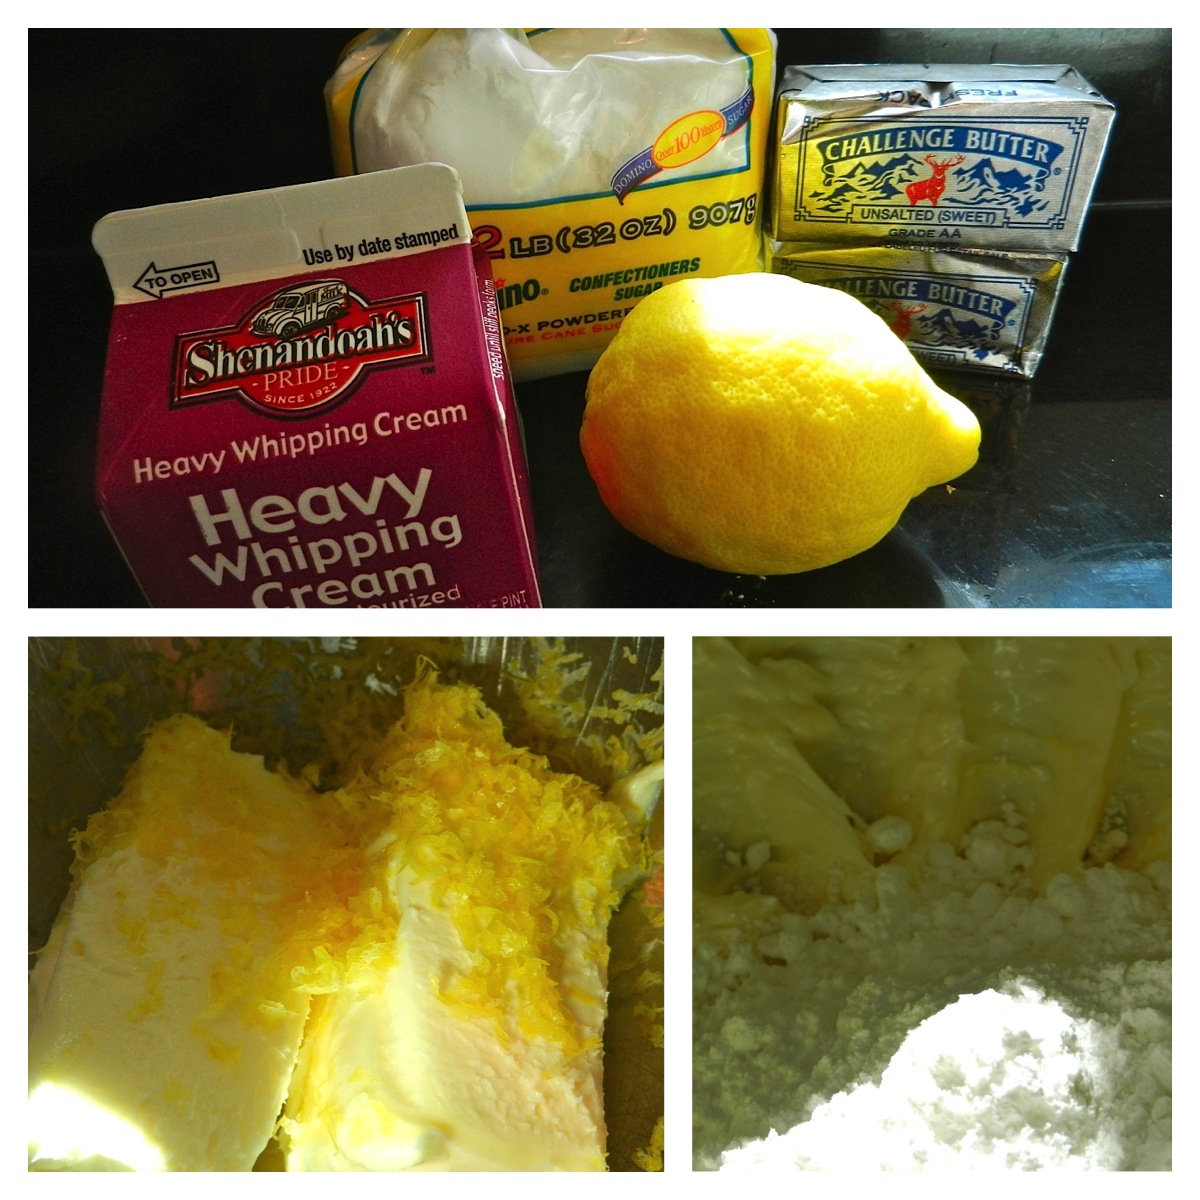
Luckily, I didn't have any issues with the lemon buttercream frosting.  It was pretty straight forward... butter, lemon zest, powdered sugar, cream and lemon juice.

No drama.

Thank goodness.

The frosting is a very traditional American buttercream and has a great, tart lemon flavor.

Putting these guys together was fun because I got to use my cupcake corer.   I love using my random baking tools, it helps me justify buying all this stuff when I can tell CA I've used it more than once.

If you like lemon, these cupcakes are pretty delicious.  I liked them a lot.  CA didn't try them because he was too busy eating the Chocolate Cupcakes with Ganache and Peanut Butter Frosting... just like everybody else.


I got this recipe from Smells Like Home and followed the instructions exactly (except for the blueberry/raspberry business) so hop on over there if you want to make these too.

Enjoy!
Julie

Thursday, July 25, 2013

Chocolate Cupcakes with Chocolate Ganache and Peanut Butter Frosting

What is it about people having babies that makes other people want to eat cupcakes?  I can't remember a baby shower, or a bridal shower for that matter, that didn't come with cupcakes.  Not that I'm complaining.  I love a good cupcake and I love being able to eat three kinds of cupcakes in one day and not feel the least bit guilty about it.  (Yes, that means that you get to hear about cupcakes today, tomorrow and Monday too.  Lucky you.)


We had a baby shower at work for two ladies who will be welcoming their first little ones very shortly and I was in charge of dessert.  I know you're surprised.

I've been wanting to try this chocolate cake recipe for a while because Pinterest said it's the best chocolate cake ever... ever... and I have to say the cake is pretty darn good.  It was moist and light with good chocolatey flavor.  It also held up really nicely in the cupcake liners and looked pretty.

I'm a big fan of chocolate cake that has coffee in it, it really brings out the chocolate flavor and this recipe is no exception.

That yummy chocolate cake got topped with ganache.

I wish I could record and play for you what comes out of CA's mouth every time I say the word ganache.  He likes to repeat it back to me multiple times in a voice that sounds kind of like a parrot.  It's weird and I always know it's coming but it still makes me laugh.

Ganache is actually super easy to make.  Chop up some chocolate, pour hot cream over it and let it sit.  The hot cream melts the chocolate so after a few minutes you just stir it up to make a pretty, smooth ganache.  Unfortunately, I neglected to take a picture of the finished product for you.  Sorry about that.
I also apologize for the pictures of the peanut butter frosting.  I don't know what was going on my with my camera but they all look weird and orange.  I promise it doesn't look like this in real life.  It looks like it would taste good, not like an oompa loompa.

Anyway... once the cupcakes get topped with ganache, they then get a good dose of peanut butter frosting.  The frosting is super delicious but it's THICK.  It's thick because it's supposed to look like a peanut butter cookie on top complete with fork thine marks.  This did NOT work for me.  I struggled with it, I yelled at it, I was super grumpy.  CA tried to help but I just got grumpier the more I messed with it.  At first the frosting was too soft and stuck to everything so I couldn't get it in the right shape. Then I chilled it, thinking that would help, and then it just cracked anytime I pressed on it with the fork.  So I gave up and just piped it on the cupcake and even that wasn't easy.  The frosting is thick and dense and didn't want to be piped.  I think I have arthritis in my hand now from squeezing it out of the piping bag.


Even though the frosting tested my patience, these cupcakes are delicious.  CA says they taste like a Reese's peanut butter cup.  I agree.  The guests at the baby shower loved these.  They were the 2nd most popular of the available options (and it's really not fair to ask anyone to compete with salted caramel which we'll talk about in a couple of days.  I know, it's not nice to tease).

Chocolate Cupcakes with Chocolate Ganache and Peanut Butter Frosting
makes 24 cupcakes
Cake adapted from Lulu the Baker
Ganache and Frosting adapted from Tide and Thyme 

For the Cake

Ingredients:
1 3/4 cups All Purpose Flour
2 cups Sugar
3/4 cups Cocoa Powder
2 tsp Baking Soda
1 tsp Baking Powder
1 1/2 tsp Salt
1 cup Buttermilk
1/2 cup Canola Oil
2 Eggs
1 tsp Vanilla Extract
1 cup Hot Coffee
Instructions:
Preheat oven to 350°F.   Line 24 muffin cups with cupcake liners.

Combine all dry ingredients in the bowl of a stand mixer and mix until combined. In a small bowl, combine buttermilk, oil, eggs, and vanilla. Pour buttermilk mixture into dry ingredients and beat just until smooth. Add coffee and mix just until incorporated.

Pour the batter (which will look really runny) into the prepared muffin cups.  Bake for 20-25 minutes until a toothpick stuck in the center of each cake comes out clean. Remove from oven and allow to cool completely before frosting.

For the Ganache

Ingredients:
6 oz. Bittersweet Chocolate, finely chopped
1/2 cup Heavy Cream
Instructions:
Place the chocolate in a small bowl.  Heat the cream to a simmer (I did this by heating it in the microwave).  Pour the hot cream over the chocolate and let it sit for about 2 minutes.  Whisk the chocolate and cream together until smooth.

For the Frosting

Ingredients:
9 T Butter, at room temperature
1 1/2 cups Cream Peanut Butter
3 cups Powdered Sugar

Instructions:
Combine the butter and peanut butter in the bowl of a stand mixer fitted with the paddle attachment.  Mix on medium-high speed for one minute until creamy.  Turn off the mixer and add the powdered sugar.  Mix on low speed until combined, then turn up the speed to medium and mix for 2 minutes until smooth.

Assembly
Use an offset spatula to spread a layer of ganache on top of each cupcake.  Pipe or spread peanut butter frosting on top of the ganache layer.

Enjoy!
Julie