
 I've made a lot of Rice Krispie Treats... the Nutella and Oreo versions have been featured in my little corner of the Interweb. I've also covered them in chocolate (see Nutella) but I have not put a layer of caramel in them.
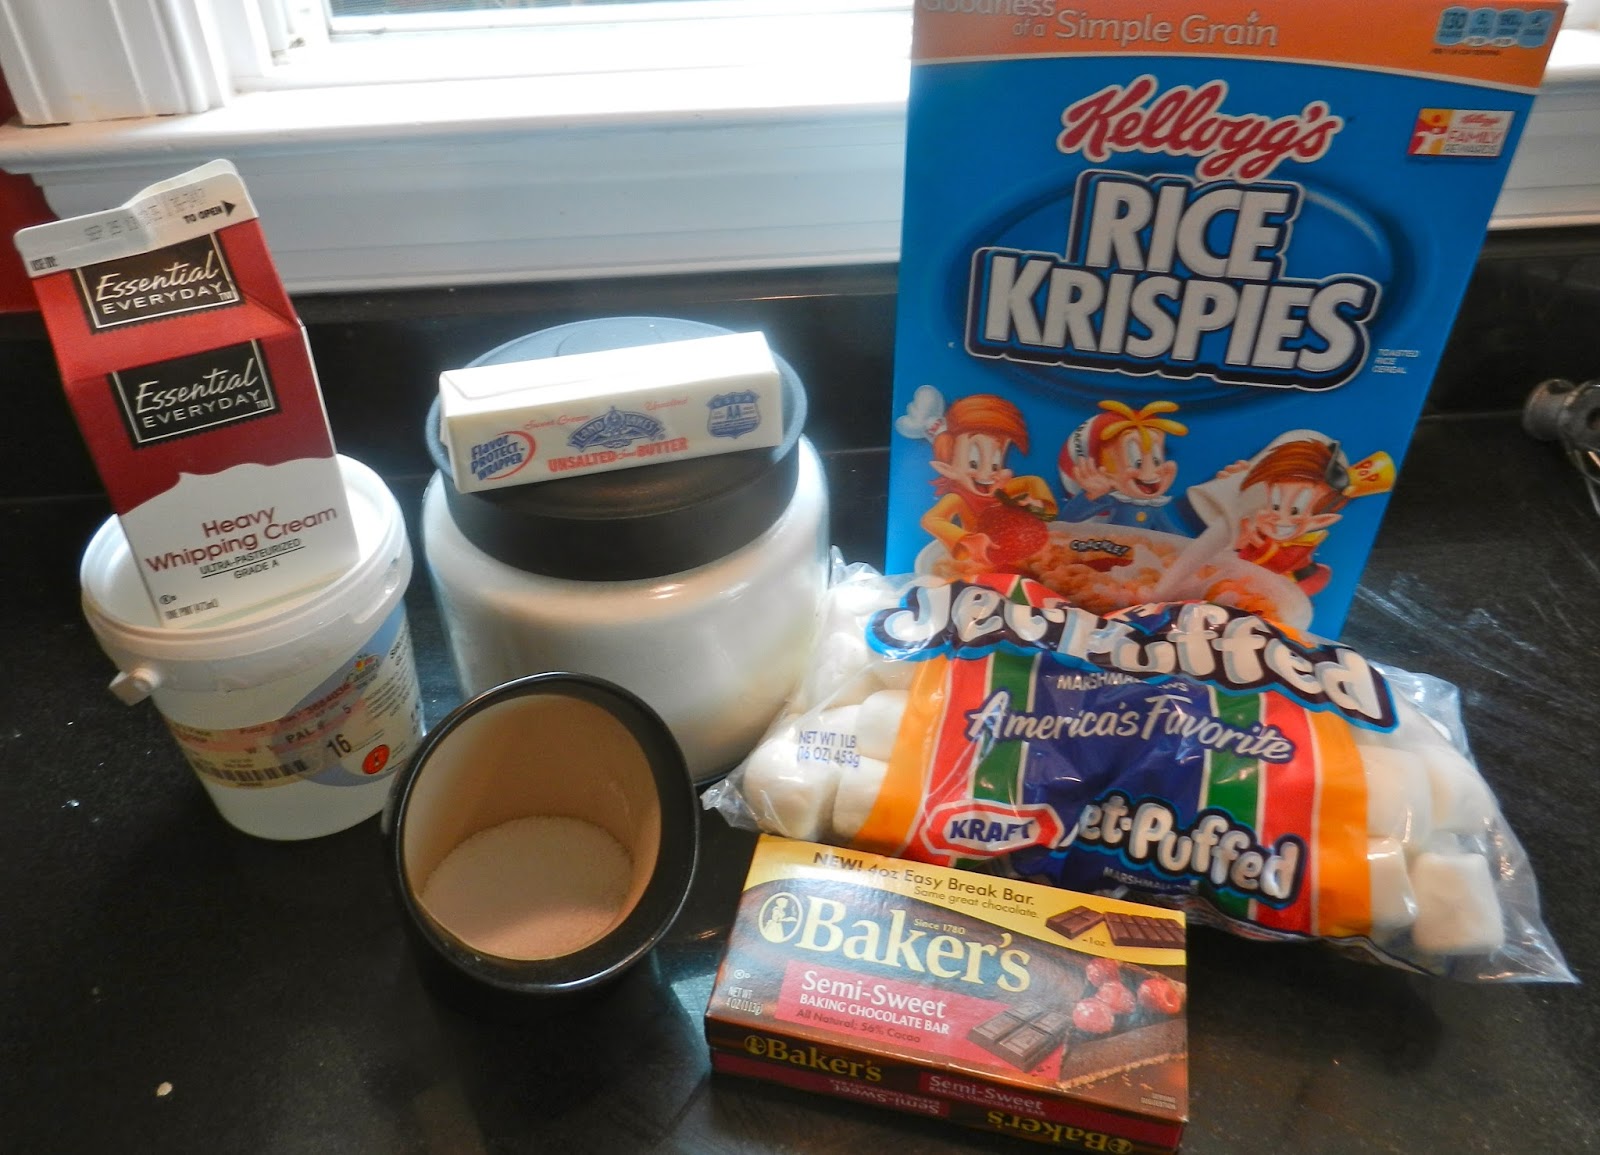
This recipe starts out with your standard Rice Krispie treat mix - butter and marshmallows are melted, krispies are mixed in and then that gets pressed into a thin layer on a sheet pan. Once the treats have hardened, they are cut into circles. Easy.
Next comes the caramel layer. I neglected to take photos of this process, however we've seen it here before when I made Caramel Jam for the Caramel Nut Tart in this cookbook. It's pretty awesome stuff and I didn't even burn it this time (maybe because I wasn't busy taking photos)! The warm caramel is put into a mold (in my case a muffin tin - the recipe wants you to use silicone molds but I don't have them. I was worried the caramel would stick to the muffin tin but I sprayed it with non-stick spray as a precaution and it came out just fine) and the cut Rice Krispie treats get layered on top of the caramel.


After the caramel has a chance to harden, the whole shebang gets covered in chocolate and sprinkled with a little salt.
The cookbook has a trick for covering stuff in chocolate that I really liked - you take a pastry brush and brush chocolate on what will be the bottom side of your treat and let that dry. Then when you use a fork to dip the rest of the treat in chocolate you don't have to worry about the bottoms not getting completely covered because of fork interference. Genius.

My house was ridiculously humid the day I made these so the chocolate refused to harden after hours of sitting out. I ended up putting them in the fridge to help them along which worked OK except that it also "helped" harden the caramel. Therefore, I practically broke my freakin' tooth when I bit into one. I also think I overcooked the caramel just a little bit so it was harder that it ideally should have been even without the excessive refrigeration.
 All in all these are pretty awesome! The cookbook suggests that you can make this same recipe much faster and more simply by using store bought caramels and melting one inside each mold instead of making your own caramel which is really smart and I think if I make these again I'll do it that way to avoid the possibility of losing a filling.
Enjoy!
Julie
No comments:
Post a Comment